Follow the instructions below on how to install Cinema 4D into Daz Studio:
Step 1: From daz3d.com/shop/ page, type in Cinema 4D into the search bar. 
Step 2: Select the “Daz to Cinema 4D Bridge” product and place it into your cart and proceed to checkout. 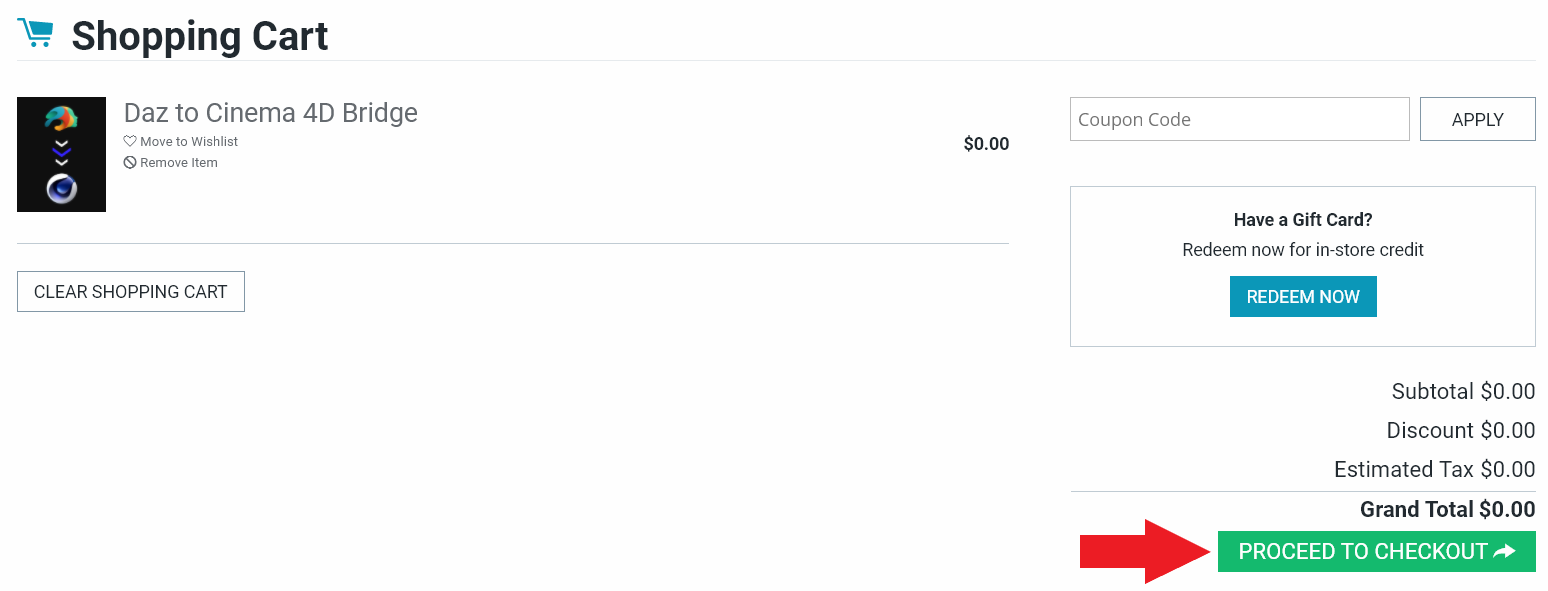
Step 3: Once your item has been purchased a confirmation page will appear with your order number attached. 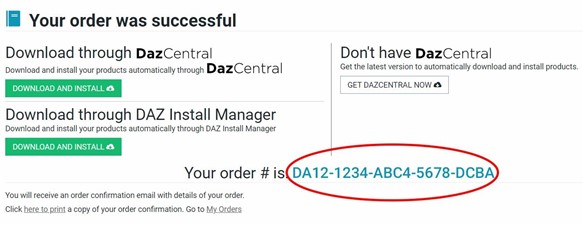
Step 4: Open Daz Central and select “Daz to Cinema 4D” from the left side navigation under “Bridges.”
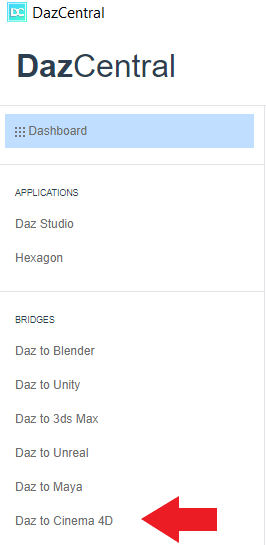
**Additional Details: If you already had Daz Central open, select the “Refresh” icon in the upper right hand corner. A new section called “Bridges” will appear in the left side navigation.
Step 5: Select “Install”

Step 6: After installation has been completed, open “Daz Studio.” Within the top menu toolbar, “Scripts” should now be an option to select from. 
If you need further assistance on how to open your character in Maya, refer to the article How do I use the Cinema 4D Bridge?