Adding an image file as a texture is completed through the “Surfaces” pane, and is normally docked on the bottom right side within Daz Studio. If the “Surfaces” pane is not an option, select “Window” from the top menu toolbar. From the first drop down menu select “Panes (Tab)” and then select “Surfaces” in the second drop down menu.
Follow the steps below to change the texture:
Step 1: Highlight the preferred surface you wish to add a texture to. For this example, we have highlighted the entire surface of a basic Genesis male model.
**Additional Details:
Unlike the “Scene” pane, selections within the “Surfaces” pane work independently; therefore, if you have something selected in the “Scene” pane, it won’t necessarily select this within the “Surface” pane, and vice versa. Using the “Surface Selection” tool, which is normally located over the Viewport, will allow you to select a certain area of the model or object.
Step 2: Within the “Surfaces” pane, select the “Editor” tab.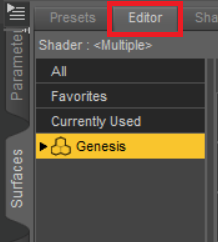
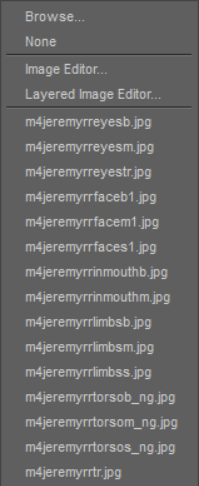
Step 3: Select the drop down arrow next “Diffuse Color.” A list of options to select from will then appear. 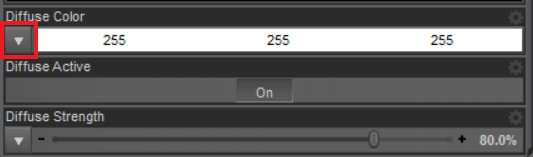
Step 4: From the list of options that appear, you can either select the preset texture that has been provided, or you can select “Browse” and navigate to the preferred image file. After selecting the preferred texture, select 'Open.' The image should now be applied to the primitive or figure.