The steps below will assist you in bridging your character from Maya into Daz Studio.
In Maya:
Step 1: Save your scene.
**Additional Details: Each time you import your scene from one application to the next, you will always be required to save your scene.
Step 2: Within the top menu toolbar, select “Daz3D,” and then “Daz to Maya.”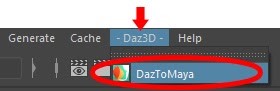
IF “Daz3D” is NOT an option within the top menu toolbar, refer to the article, “Maya Bridge: Exporting character(s) using Daz to Maya Bridge.”. Start with steps 7.
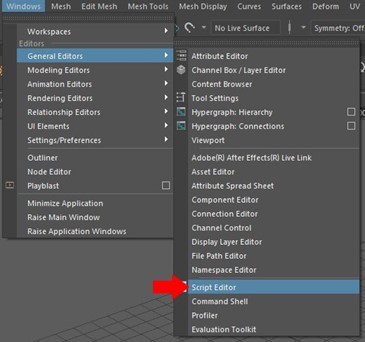
Step 3: Within the top menu toolbar, select “Windows,” “General Editors”, and then “Script Editor.” A pop up window will appear with the title “Script Editor.”
Step 4: Select the MEL tab and type in DAZTools (case sensitive). Highlight the text by double clicking on DAZTools. 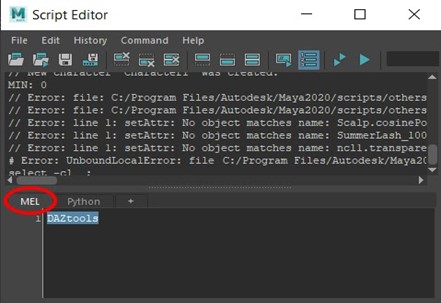
Step 5: From the menu toolbar within the “Script Editor,” select “Command,” and then “Execute.” A pop up window will appear with the title “Daz Studio Tools for Maya.” (DO NOT exit out of this pop box as it will be used later to “Export Animations to Daz.”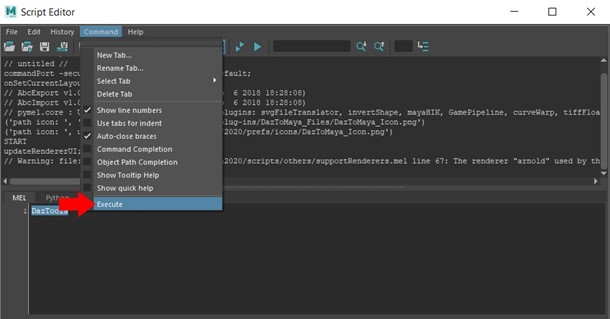
Step 6: Select “Rig or Re-target Skeleton.” From the pop up window titled “Choose your File,” select “Run on open file.” OR: Select “Choose file” and locate where the image is saved.
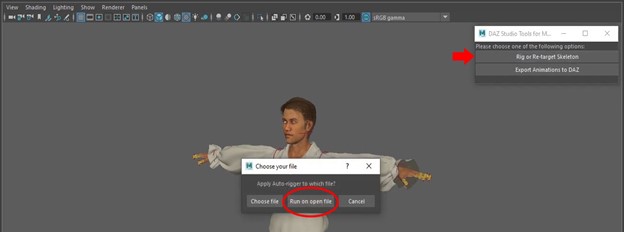
**Additional Details: Once complete, a brand new rig will be attached to your character.
Step 7: Continue animating your character.
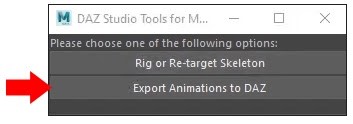
Step 8: From the “Daz Studio Tools for Maya”, select “Export Animations to DAZ”
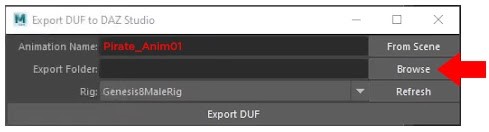
Step 9: Update the “Animation Name” field. This is how the character will be located within Daz Central. A pop up window will appear with the title “Export DUF to DAZ Studio.”
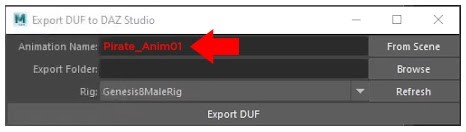
Step 10: Select “Browse” and choose the directory for where you would like to save this file.
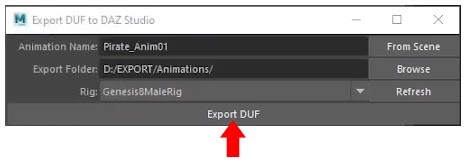
Step 11: From the “Export DUF to DAZ Studio”, select “Export DUF.” Select the “Confirm” button and now your image has been exported over to Daz Studio.
In Daz Studio:
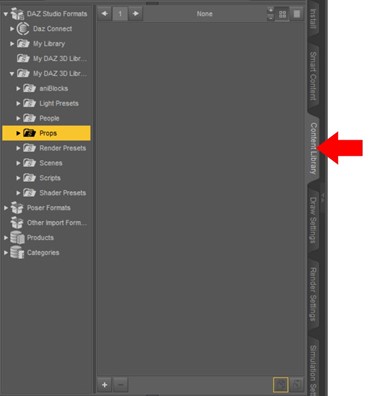
Step 12: Within Daz Studio, select the tab “Content Library.”
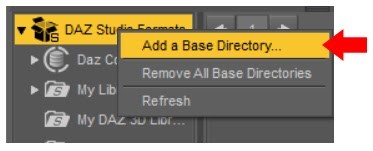
Step 13: Right-click “DAZ Studio Formats” and select “Add a Base Directory” to add your animation’s save location.
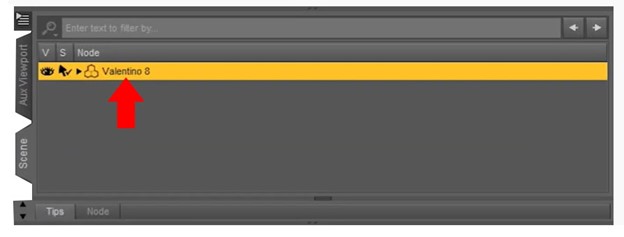
Step 14: Select the root of your character.
Step 15: Double click your animation. This will now display your animation in Daz Studio!